What happens when the boat seat pedestal stops swiveling and swirling, eventually resulting in the seat coming out of its place? And what happens when this situation takes place right in the middle of the water? Most times, it’s the boat seat bushing or the base that needs repair or replacement.
Hence, the question prevails, ‘how to replace boat seat pedestal bushing?‘. If you are looking for an answer too and have no luck finding the right way, you’ve successfully landed in the right place.
Read Related Articles:
How to Replace Boat Seat Pedestal Bushing: The Process
Things you will need
Before we hope into the repair process, there are a few things you will need to make this work. Out of all, the most important thing is the boat seat pedestal replacement part. So, how do you know which one is the best bushing? I’ll list it right here!
- Springfield Marine replacement bushing
- Drill
- Alignment pin
- Metal file
- 200 to 400-grit emery cloth
- Teflon grease
Now for the few easy steps, and voila! Your boat seat pedestal bushing will be functioning as new!
Easy steps to boat seat pedestal repair
There are different boat seat pedestal bushing parts available by Springfield marine for different boat models. For instance, the 1990 Boston Whaler Revenge 22 walk-through Whaler drive has 2-7/8 inch pedestal posts. The somewhat perfect fit for this boat seat pedestal is the Springfield pedestal repair bushing part number 2171001. Don’t worry about the costs because West Marine from Springfield makes pretty affordable boat seat pedestal inserts that are durable and functional!
So, let’s see how to replace the boat seat pedestal bushing step by step-
- After receiving your bushing, you may notice that it is not identical to the original bushing on the 1990 boat. The original 1990 seat base does not have any locating holes, while the advanced Springfield bushing has a tiny molded post that directs upward. The purpose of the post is to place it on a locating hole that sits on the inner side of the socket of the boat seat. You can also try out the specified model of the attwood pedestal bushing that fits your boat seat pedestal.
- If you have an old boat model and face this issue, to get through this, what you can do is make a hole in the boat seat pedestal base casting socket using a drill. This gives a purpose to the molded post on the new bushing and renders a rigid placement of the bushing to the base.
- The replacement bushing, just like the original, will be asymmetrical. The thickness of the bushing circumference is variable, which allows a certain tilt angle to the boat seat pedestal base as per the post.
- If you place the bushing in one way, there will be about 1.5 degrees tilt to the boat seatback. On the contrary, if the bushing is oriented in the opposing rotation of 180-degree, there will be a seat base tilt of almost 1.5 degrees forward.
- The seat will tilt backward if the thick part of the bushing is placed towards the casting number side by utilizing the seat slide part number as per the seat base casting consideration. And on the other hand, if the orientation of the thinner side of the bushing takes place towards the casting numbers, the sit will tilt to the front.
- There is a split on the bushing and the two small ridges on the socket. The ridges will be placed on the split with an orientation of 180-degrees.
- There is a small relief notch on the bushing to allow the second ridge to be placed. While on the other side, the first ridge is located on the central split.
Now, how to add the drilled hole to the base socket? Let’s see-
- Use the new Springfield boat seat pedestal bushing as a guide. Now, place the bushing onto the socket in the orientation as per your preference. In this way, you will establish the correct position for the hole location in the lip of the socket.
- Now that you have the hole location, you need to drill a small pilot hole cautiously.
- Place the bushing in the socket to check if the newly drilled hole location is accurate.
- The next step is to widen the hole to almost a 5/32-inch. This will let the bushing post be easily placed into the socket hole. It is also necessary for the bushing to bottom out in the socket.
- So, what you need now is the refurbishment of the upper surface of the pedestal post to reinstall the new bushing into the seat base on the pedestal post.
- To refurbish the surface, you need a metal file and emery cloth of 200 to 400 grit for the desired sanding. It would help if you continued the sanding till the surface returned to a smooth and even surface.
- You do not want abrasion or damage between the nylon bushing and the aluminum post. So, you need a tiny amount of Teflon grease to add to the post surface.
- While you do the above step, be careful not to get the grease on the post where the bushing of the seat will be fixed since the seat will be located with a specific rotating orientation.
- If you have repaired the seat, the last step is to place it on the original pedestal post. And it should work just fine!
How to Repair Hydraulic Boat Seat Pedestal
So, now that we know how to replace the boat seat pedestal, what if the boat seat base pulls off next? It’s widespread, so if this is the case with your boat, you can repair it in no time!
What you will need
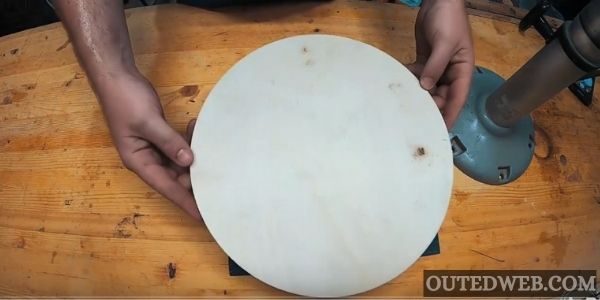
- Circular wooden disc
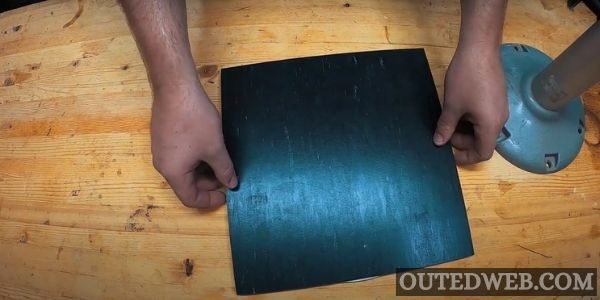
- Tile block
- Flush trim bit 1/2″ inch
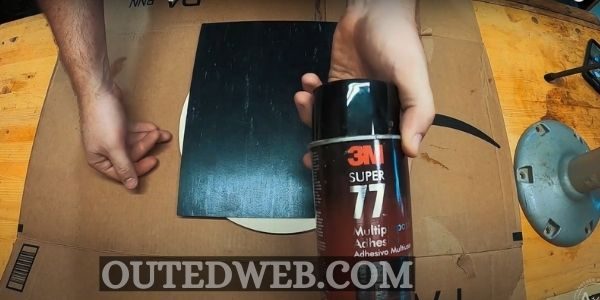
- 3M spray adhesive
- Benchtop bosch router table
The process of repairing hydraulic boat seat pedestal
- You need to take the circular wooden cut out and cover it with epoxy sealant for durability.
- Now, place the tile block on top of the disc. You need to attach the tile to the disc. For that, you need a 3M multipurpose adhesive spray. Spray the adhesive as long as it does not cover every nook and corner of the disc.
- The next step is to place the tile carefully on the disc with the adhesive.
- Set aside the pact for drying up. Give it about a half-an-hour or so.
- Bring on the benchtop router table and for safety issues, make sure to unplug it.
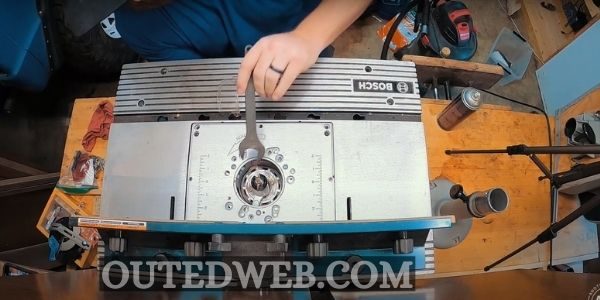
- Next, you need to trim off the edges of the tile block to match it with the circular cut-out shape.
- You can use the Freud flush-trim bit for the work. Adjust the flush trim bit on the router table bearing.
- Trim the tile block with it and be careful with the precision.
- Put on your ear pro before the trimming because the flush trim will make some noise!
- You can paint some color on the wooden piece to match the color of the boat seat pedestal.
- Finally, it’s time to mount the base on the boat. Take the base and place it on the preferred surface spot. Make sure to use a fresh spot for drilling the base.
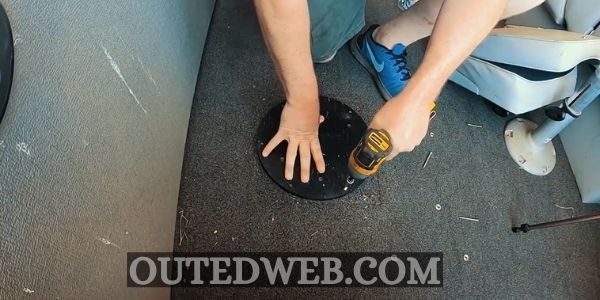
- Using the drill, make holes along the base circumference getting across the boat surface.
- Put on the 4′ screws to the base and boat surface. Make sure to place the base hole in alignment with the surface hole.
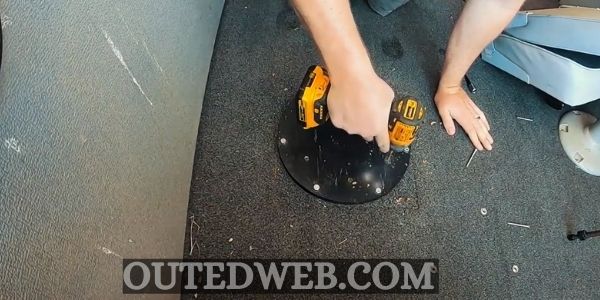
- Make sure you have tightened the screws enough.
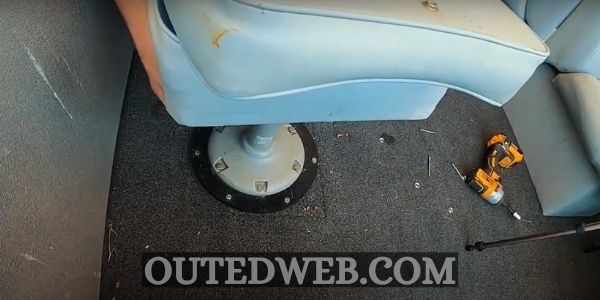
- Next, make pre-holes on the mounting base for putting on the seat pedestal. Put it on the pedestal and drill the screws to fix it on the base.
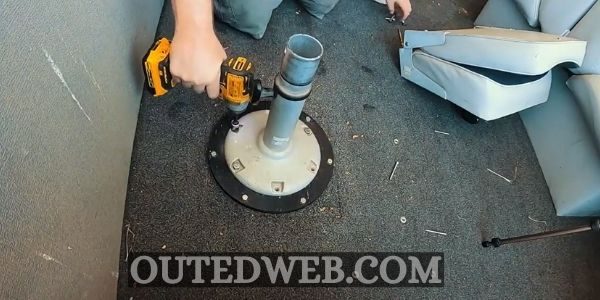
- Put the seat back on the pedestal, and you did it like a pro!
Frequently Asked Questions
How do you lubricate a boat seat pedestal?
- It would be best if you used the spray silicone on the seat pedestal of the boat. Get rid of it from the boat and flush out the contaminants. Wipe the boat pedestal clean and spray a light layer of mist on the moving parts.
How to remove pedestal boat seats?
- If it is the empty wedge-style seat pedestal, give it a hard tap from side to side using a rubber mallet or hammer. The pedestal will loosen a bit, letting you get it out quickly.
Is it easy installing pedestal seats on a fiberglass boat?
- It is effortless and somewhat the same as the bass boat pedestal seat installation and repair. The swivl-eze pedestal repair will help you throughout the time.
Final Words
For so many days, you couldn’t make your boat seat pedestal function up to a notch even though you knew the bushing issue. You did not know how to replace the boat seat pedestal bushing. Well, that issue is solved too, as hope now.
Follow the steps correctly, with the useful Springfield boat seat pedestal parts, your boat seat pedestal will work like new. And the best part is how affordable the replacement bushing is from Springfield! So, grab on your tools and get going now!
