In this fishing business, do you not want to up your game? Downriggers are the best solution in this case. If you can mount the downriggers on your boat, you will indeed have better luck in fishing! You can aim for fishing at any water depth with downriggers and lure the fishes swimming in deep water.
Even though downriggers have a relatively easy method of use, if you are a rookie in this, you might not know where and how to mount downriggers on a fiberglass boat. You can pick any spot on your boat to mount the downriggers. However, if you are asking for the best place recommendation, I would say it should be close to the stern of the boat for convenience in functionality. You will know the rest of the details as you go through this article. Let’s get some in-depth info.
What are Downriggers?
If you have never seen a downrigger, you’d probably be wondering how this can be a helpful tool for fishing, especially salmon fishing.
A downrigger is a gadget that allows you to set the depth of your bait, ideally at the right spot where fishes are located.
It’s a three to six-foot pole with a cannonball and steel rope connected that hangs over the edge of your boat. Attach your lure to the cannonball and lower it to the appropriate depth, as per your need. The clip is released when you get a bite, enabling you to draw the fish in.
Downriggers are intended to be used while trolling, which involves gently tracing a line across the water behind your boat at extremely low speeds. Many fishers employ two downriggers, one on each side of the boat, to boost their chances of getting a fish bite and eventually catching the fish.
Do You Need to Use Downriggers?
Well, if you want some good luck with fish catching, especially if you love catching salmons and you want to do it with consistency, a downrigger is something you must invest in.
So, how do you catch a salmon with a downrigger? Salmons are found at the exact location of baitfish. This fish-prone zone is known as the strike zone. Your lure needs to be in that exact spot to bless you with some salmons. And without being a professional, this is a tough job, even for the experts. With the lure a little above or below that spot, you will not have any extraordinary luck catching fish, so it must be precise. For that, a downrigger seems to be the best solution to know if you have precisely placed your lure.
To Read More About:
How to Choose the Right Downrigger for You?
When deciding which downrigger to go for, there are a few things you need to consider. Let’s see what they are.
Manual vs. electric: It will mostly rely on the level you’re fishing. We suggest electric downriggers for deeper seas since it will help you recover the cannonball much faster.
Mounting Options: In the case of smaller boats, a downrigger that clips to the gunwale will suffice. You’ll need one that can be put in a fixed location if you have a larger vessel. Tilt mounts, which enable you to angle the downriggers inboards while docking, are also available.
Downrigger Boom Length: As previously stated, downrigger booms range in length from three to six feet. To keep the weight off the topsides, your downrigger should be longer than the length of your boat.
Retrieving Speed: The downrigger’s ability to retrieve the cannonball quickly. It’s as quickly as you can turn the spool on a manual downrigger. On the other hand, the quickest electric ones can reel the wire in at speeds of up to 200 feet per minute.
How to Install a Downrigger on a Fiberglass Boat with a Right Angle Gunnel Mount
Things you will need
- A drilling machine
- A Scotty 1025 Right Angle Gunnel Mount
- A 1026 Pedestal swivel mount
- Scotty 2106B downrigger
So, without further ado, let’s dig into the procedure.
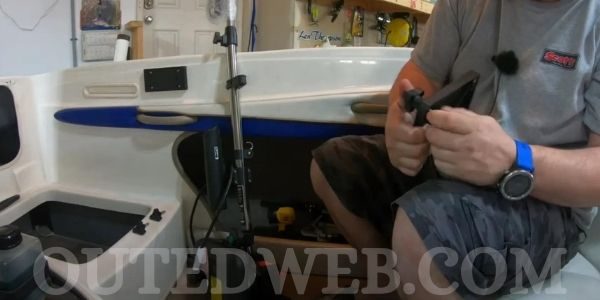
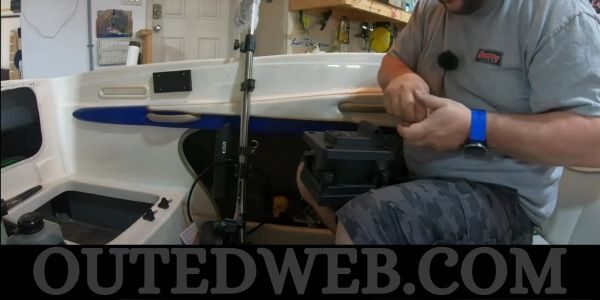
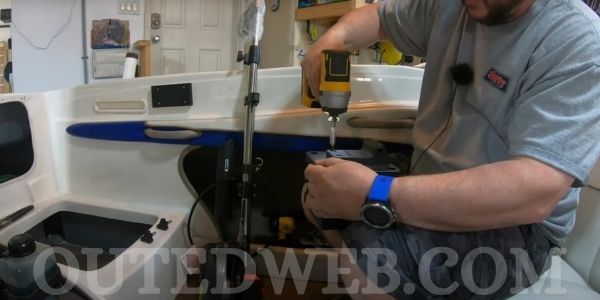
Step 1: Installing the gunnel mount for downrigger
- First, you need to install the Scotty 1025 side mount close to the boat stern. To do so, hold the gunnel mount in the right place firmly loosen the knobs a little to get the drill in.
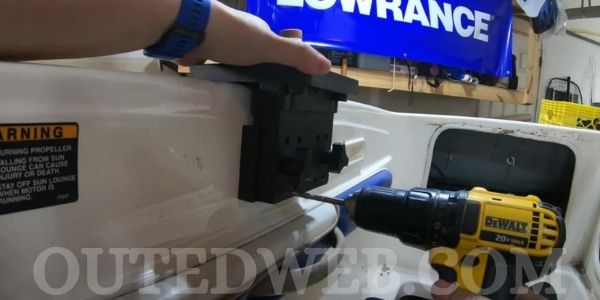
- Put the drill into the bottom hole, holding the gunnel firmly in place. After that, you need to unscrew the knobs.
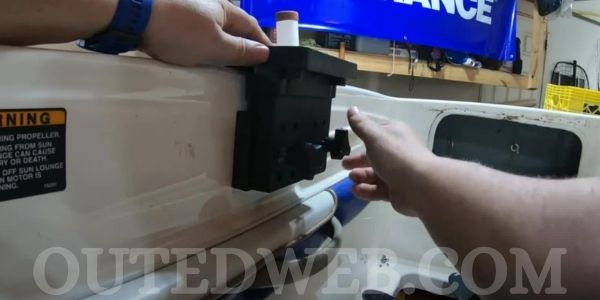
- Now, you need to go to the back plate and place it well. To do so, you need to put bolts through the bottom part and make sure it is perfectly tight.
- Put back on the mount part and drill in the rest of the four holes, and put on the bolts to secure it in place.

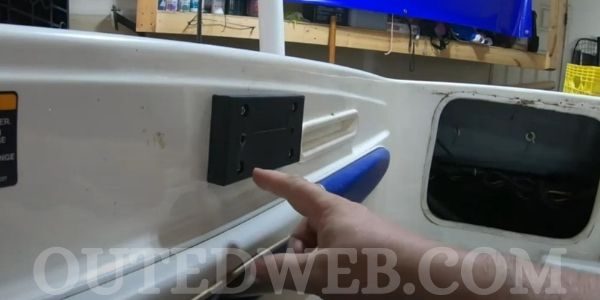
- You can take off the l-shaped mount after every session of fishing, but you need to be careful to secure them rigidly. When you take off the l-shaped part, the only part that remains attached to the boat is the solid rectangular plate. So, you got your 1025 Scotty right-angle gunnel mount installed.
You can also use the gimbal mount for downriggers as per your preference, the steps would be somewhat similar, so nothing to worry about.
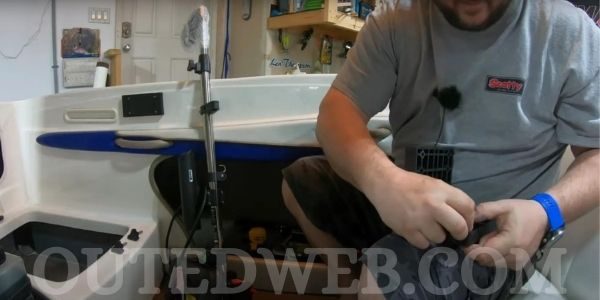
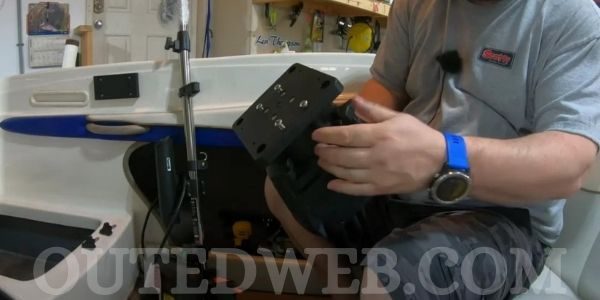
Step 2: Attaching the swivel to the gunnel mount
- Now, for the next step, you need to take out your 1026 pedestal swivel mount that comes with the Scotty 1025. Take out the base plate of the swivel by turning the knobs anticlockwise.
- Take out one knob, and you can use it to take out all the bolts from the base plate. So, why are we not using the base plate? It is used for a wide gunnel boat with permanent mounting. Since we are doing a small boat downrigger setup, you do not need that.
- Bring out the l-shaped Scotty 1025 part and slide the bolts on the inner side of the part. Secure the bolts.
- Take out the swivel part. Now, place the l-shaped gunnel part over the swivel. Secure the knobs and bolts in the four corners.
- You might face some trouble in putting the bolts in the right place; you can use the drilling machine to poke it in. Besides, it shouldn’t be that difficult because there’s a bolt spot molded into the plastic parts already. Just get the bolts through them.
- On the top of the swivel, there are four screws that you need to take out. Keep them close and safely, so you don’t lose them. In order to get the right idea, you can also look for some downrigger placement pictures.
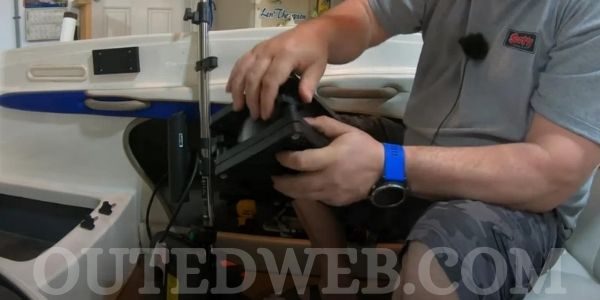
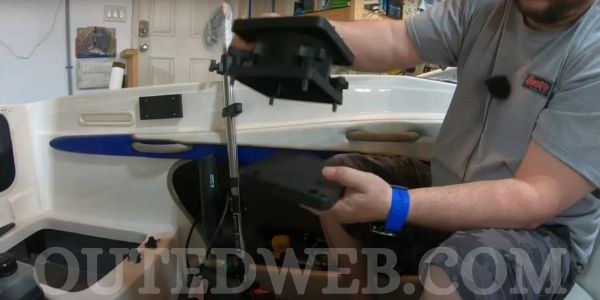
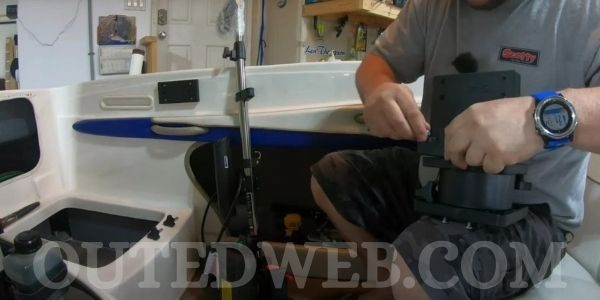
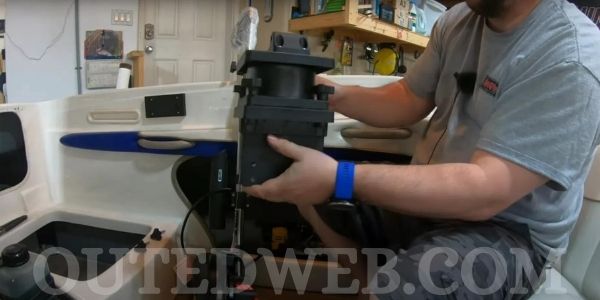
Step 3: Mounting the downrigger
- Now to complete mounting the downrigger mounts, it is time to take out the 2106B downrigger; you can also go for mounting the cannon downrigger. When you look at the back of the downrigger, you’ll see a pivot there. You need to loosen up the knob and pull out the pivot.
- Take the bracket that you attached in the last step. Look at the top; two holes at the bracket edge and two at the middle. Place the pivot aligning the pivot holes with the bracket holes.
- Get the four screws that you unscrewed a while back and place them on the four holes and secure them in place. You can use a drill or a screwdriver for it.
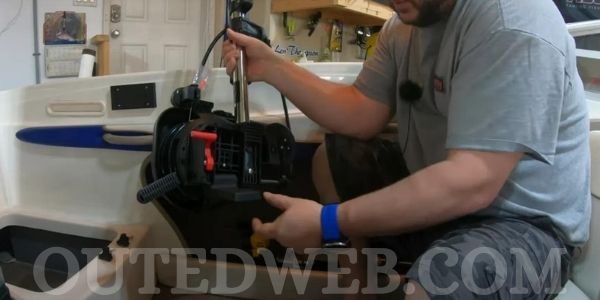
- What you’ve got now is the release for the swivel. You need to take the whole unit and mount it back on the plate already mounted to your boat for the final steps.
- Put the knobs in place and make sure they are tightly secured.
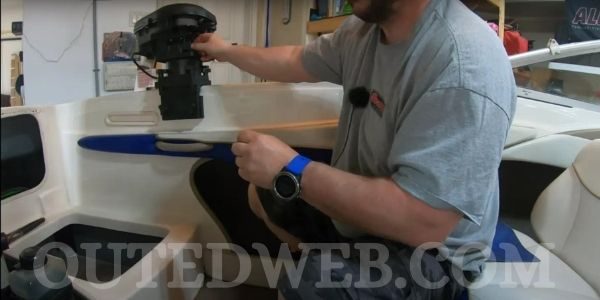
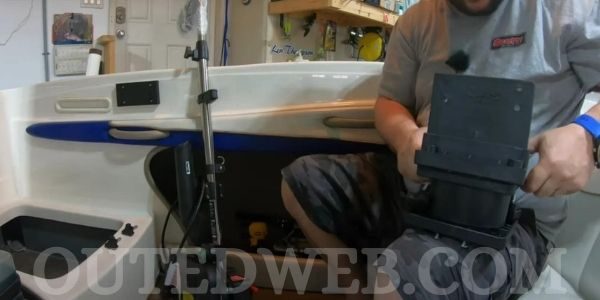
- Bring out your downrigger and set it on the pivot bracket top. Now, carefully place the bolts for attaching the downrigger to the bracket. Secure the knobs and hence the downrigger till it is tight and rigid.
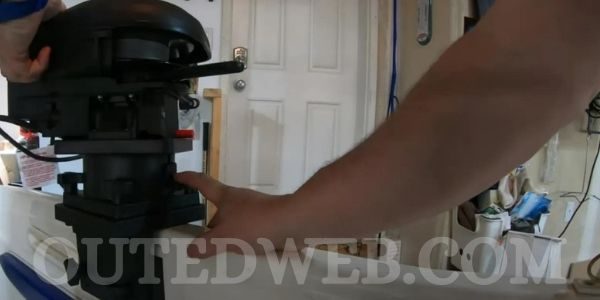
And here you go! You have successfully mounted a downrigger to your fiberglass boat. By pushing the knob down, you can avail the pivot and turn it in whichever direction you want. The rigger will lock itself in that same position as you release the pivot. Fish some good salmons, folks!
Frequently Asked Questions
How heavy is a downrigger weight?
- For typical freshwater downriggers, the weight can vary from 6 to 8 pounds. And in the case of downriggers for saltwater, it will be about 10 pounds. The required downrigger weight depends on the depth and speed of trolling.
What does a downrigger snubber do?
- A downrigger snubber aids in absorbing shock, preventing snags, and also protects against electrical fuse standing as insulation for it.
How fast can you troll with a downrigger?
- The average trolling speed of a downrigger is about 2 mph. But anglers are seen to troll with a downrigger at a speed range of about 1.5 to 3.5 mph.
Final Words:
Mounting a downrigger is no big deal, as you must have learned by now. With the right downrigger mounting ideas, the right tools, the correct information on where to mount downriggers and how to do it, the whole process will take less than 10 minutes, even for the rookie.
Now, you know how to mount downriggers on a fiberglass boat properly. Since it is no hassle either, you can do it conveniently to get yourself some great luck in fishing. Why the wait? Let’s get going!
